

Choose a smooth outline with breathing room
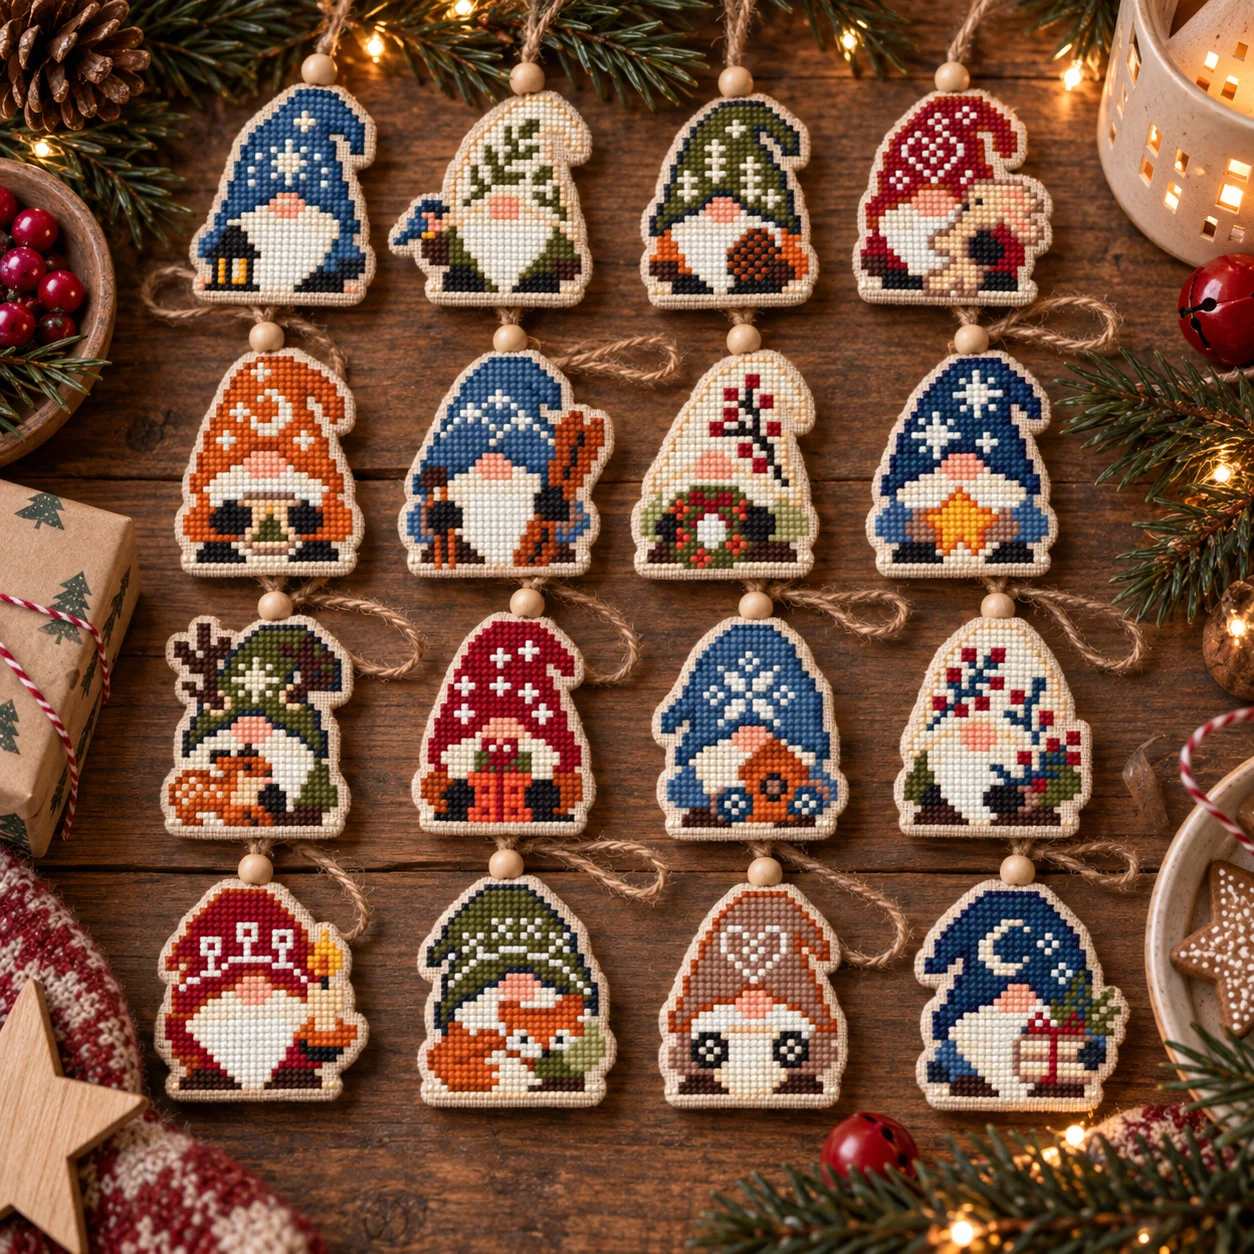
Small designs from our Christmas Nordic Ornaments Monochrome collection or Mini Christmas Gnomes Set can become flat hanging decorations. Measure an individual motif, not the dimensions of the whole collection. A rounded rectangle or oval is more forgiving on woven cloth than tiny points around a hat, antler or mitten.
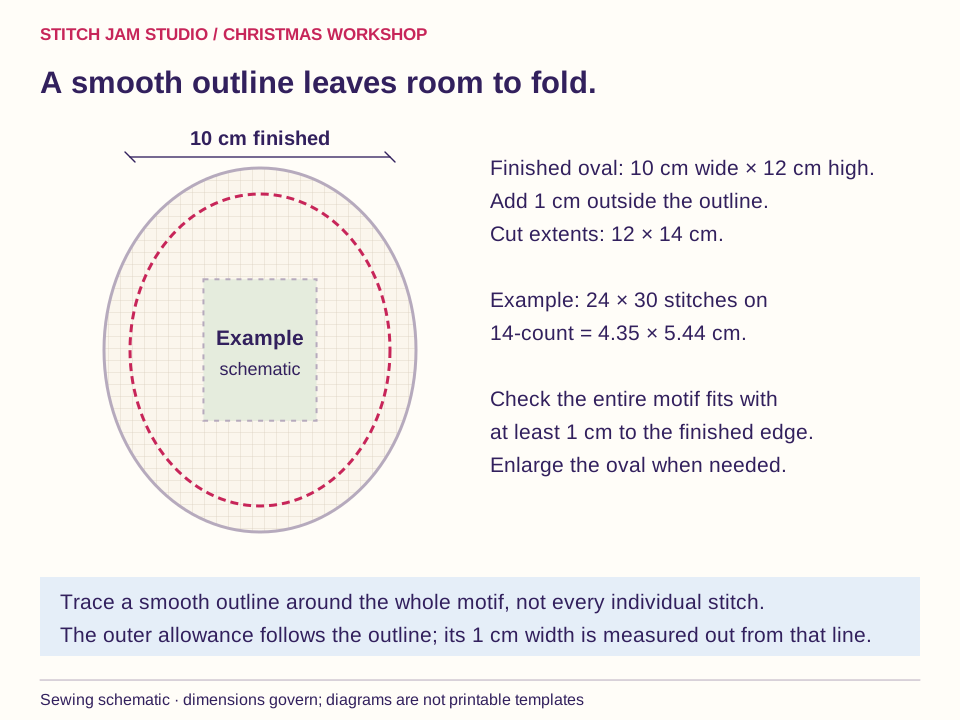
Our worked example has a 10 × 12 cm finished oval. It suits a small motif comfortably inside that outline. A teaching example of 24 × 30 full crosses on 14-count Aida is 4.35 × 5.44 cm: stitch count ÷ fabric count × 2.54, calculated in each direction. These are example numbers, not catalog dimensions. Check that every part of your actual design remains at least 1 cm inside the finished curve; enlarge the outline if needed.
Materials for a flat sewn finish
Gather your embroidery, a piece of approximately 2 mm felt, ordinary sewing thread, a needle, small scissors, temporary marking thread, paper or light card for a folding template, a ruler and a 16 cm length of narrow ribbon. Choose felt that holds its shape without being hard to stitch through. No stuffing is required.
The finished oval is 10 cm wide and 12 cm high. The felt is cut to that finished outline. The woven embroidery needs a further 1 cm folding allowance outside the whole outline, giving maximum cut extents of 12 × 14 cm. This is separate from the visible cloth border around the motif. Start on a larger piece for stitching, then cut only after the embroidery is ready.
1. Finish, clean and position the motif
Complete any backstitch details and secure the thread ends. If cleaning is necessary, follow the materials' care instructions and test colorfastness first. Let the work dry fully. Press gently on the reverse over a clean towel.
Draw and cut a 10 × 12 cm paper oval. Place it over the finished work, using a second paper window or backlighting to check the motif's position. Mark the top of the oval and the top of the embroidery with temporary thread. Check the border around the entire curve, not just at its widest and tallest points. A larger smooth shape is better than losing a stitched detail at the edge.
2. Mark the fold, add the allowance and secure the edge
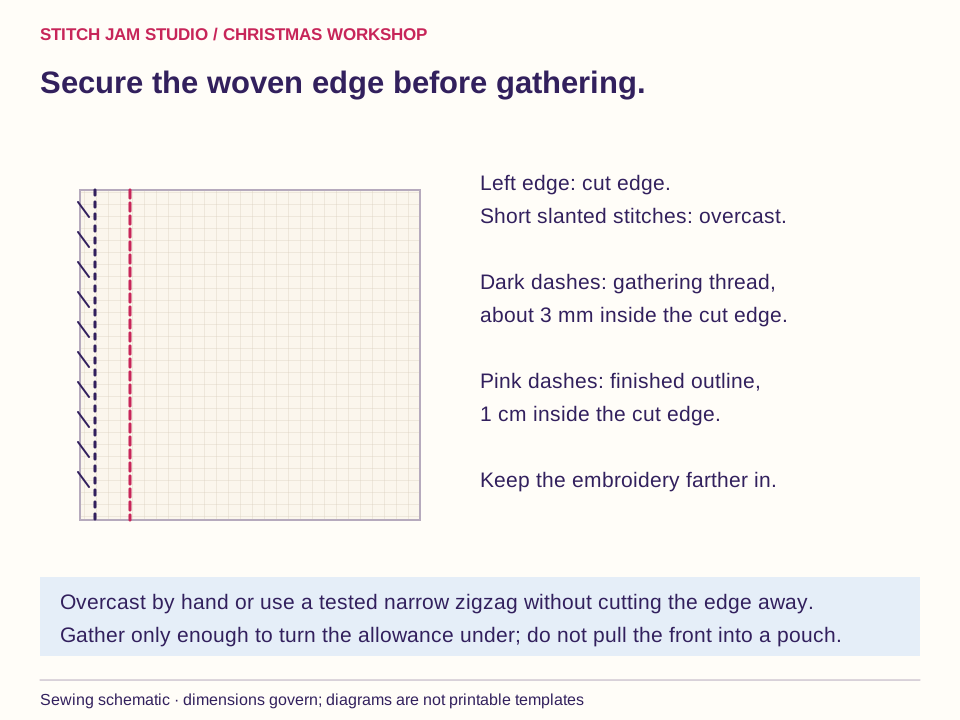
Mark the finished oval on the reverse, then draw a second line 1 cm outside it. Cut on the outer line. Overcast the woven raw edge with loose hand stitches, or use a narrow zigzag tested on a scrap. The edge should lie flat and retain its threads. Do not trim against the last row of crosses.
With strong sewing thread, work a running stitch about 3 mm inside the newly secured raw edge. Leave tails at both ends. This gathering line is entirely within the folding allowance. It will help ease the cloth around the curve; it is not the final visible seam joining the felt.
3. Form the smooth folded edge
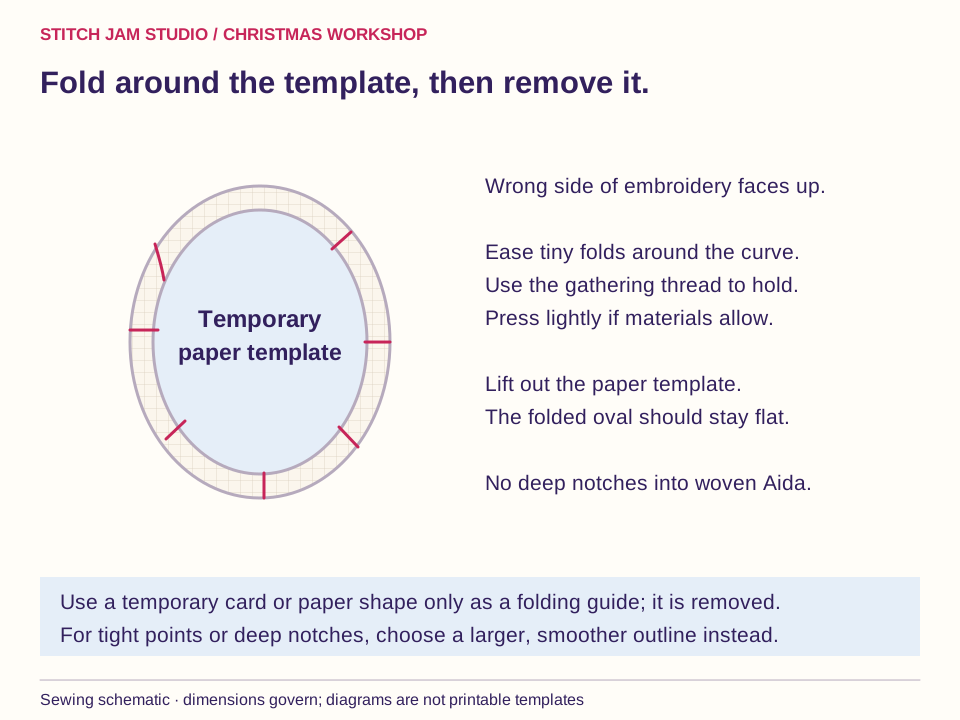
Lay the embroidery face down on a soft clean surface. Centre the paper template within the marked oval. Pull the gathering thread gradually, guiding the 1 cm allowance over the template onto the back. Spread the tiny folds evenly around the curve rather than allowing one large pleat to form.
Stop when the allowance lies against the back and the front remains flat. If the fabric or thread permits pressing, press the folded edge lightly with an appropriate temperature and a protective cloth. Remove the paper template before adding the felt. Tie the gathering thread while keeping the shape flat. This template is a temporary shaping aid, not a permanent backing.
4. Secure the hanger before covering the back
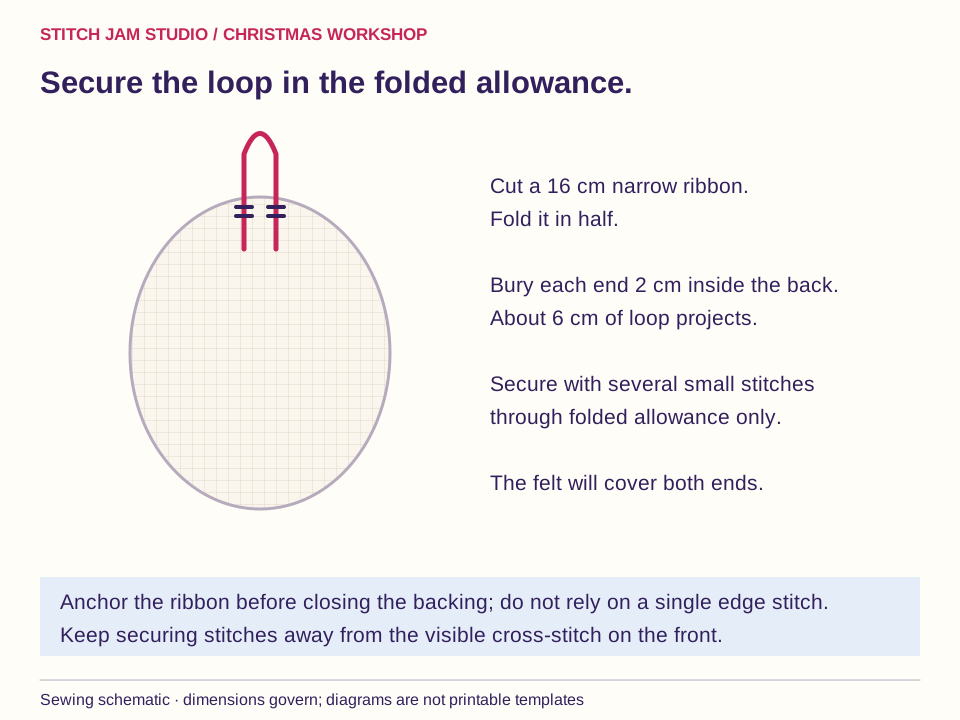
Fold the 16 cm ribbon in half. Place its two ends at the marked top on the reverse, extending each end about 2 cm inward from the finished edge. This leaves a projecting loop of approximately 6 cm. Make sure the ribbon is not twisted.
Attach both ends securely with several small stitches through the folded allowance, checking that the needle does not emerge through the visible embroidery. The felt will later cover the ribbon tails. Hold the ornament gently by the loop before continuing; if the attachment shifts, reinforce it now while the reverse remains accessible.
5. Fit the felt to the folded front
Use the same finished-size template to cut the felt. Place it against the folded reverse and match the top marks. The felt should cover the folded allowances without projecting visibly beyond the front. Trim only a whisker if needed, working slowly around the shape.
If you want a name or date on the felt, embroider it before attachment. Keep that stitching light so the felt lies flat. Pin or clip the backing in place, checking from the front that the motif has stayed centred. Avoid permanent glue under the cross-stitch: this sewn assembly needs only thread and the secured folded edge.
6. Sew the felt to the folded allowance
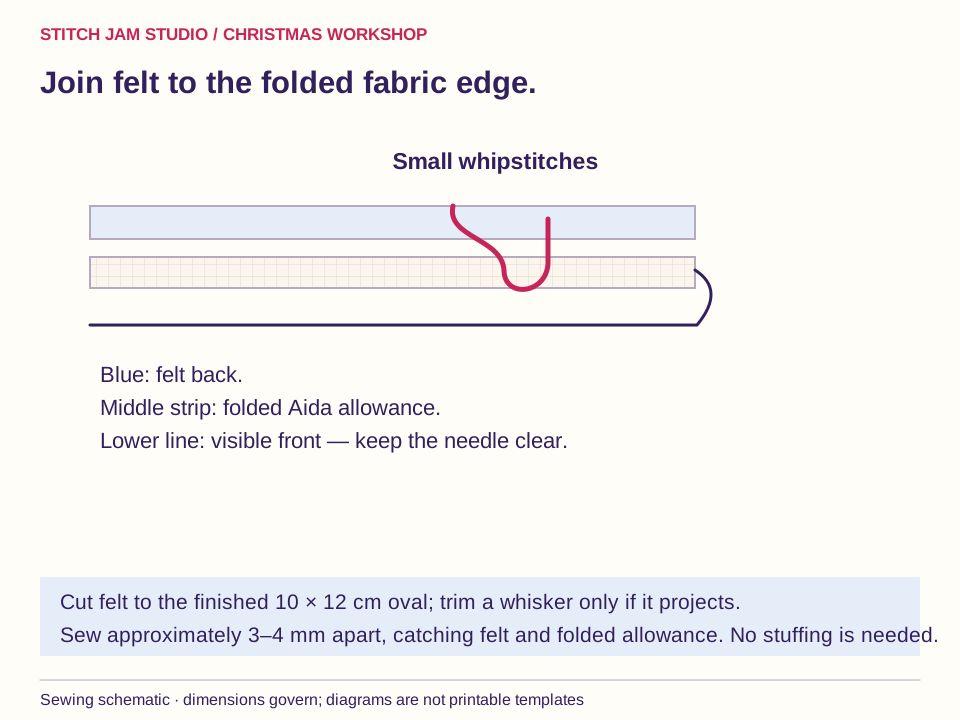
Hide the starting knot between the layers. Take a small bite of the folded Aida near its edge, then pass through the felt close to its edge. Repeat with small whipstitches approximately 3–4 mm apart, joining felt and folded allowance. Keep the stitches shallow so they do not show through the stitched face.
Ease around the curve without pulling the thread tight. At the ribbon, work carefully around the anchored tails and add a few securing stitches if needed. Finish with two small stitches in the backing, bury the tail between the layers and remove all pins. The finished ornament should stay flat when placed on a table.
7. Check the edge and choose a place to hang it
Look for escaping woven threads, loose ribbon stitches and any felt projecting past the front. Correct these before gifting. Store the ornament flat and dry, with its loop untangled. For a more sculpted outline, start with a new, more generous template; do not nibble away the secured edge of a finished piece.
For a soft filled alternative, make a pillow ornament. For embroidery on both sides, follow the double-sided tutorial. Flat felt-backed pieces also work as the daily decorations in our Advent calendar without pockets.
The pocket-free countdown guide uses a 10 × 10 cm decoration space, so this larger worked example will not fit as written. Choose a smaller motif and reduce the body size while keeping the stated sewing or folding allowances. Shorten and trial-fit the hanger to about a 1 cm drop, or enlarge the calendar spacing to accommodate the original ornament and its approximately 6 cm loop.
Stitch Jam patterns to make it yours
These are real designs from our catalog. The images show finishing inspiration, and the product pages describe the PDF patterns. Fabric, filling, hardware, sewing templates and calendar numbers are separate unless a listing explicitly says they are included.
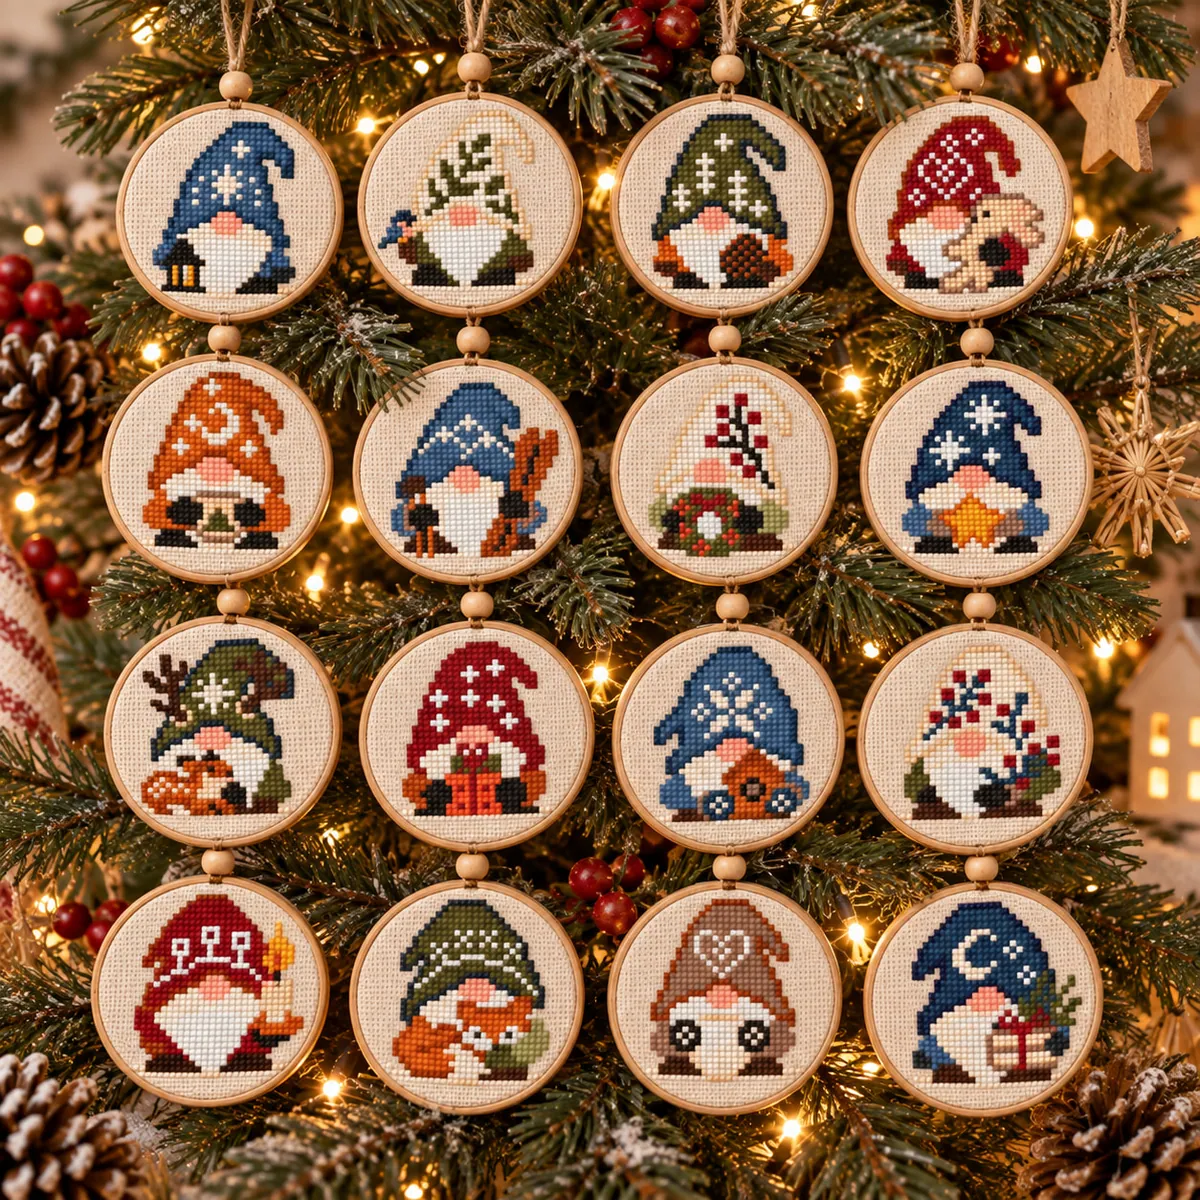 16 Mini Christmas Gnomes Ornaments SetView the pattern and included designs
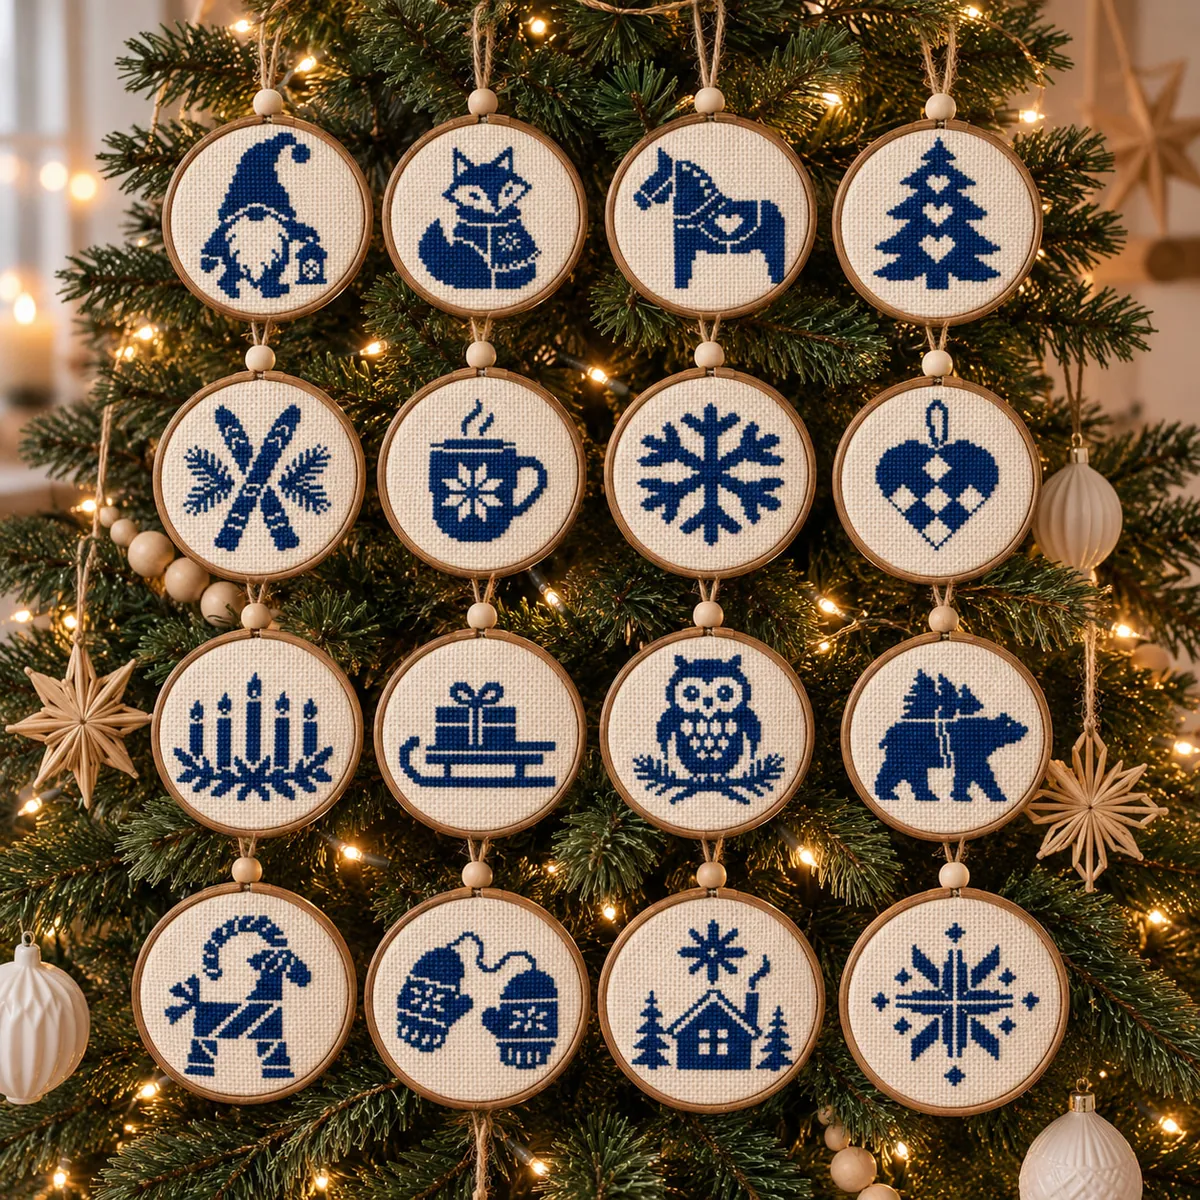 Christmas Nordic Ornaments MonochromeView the pattern and included designs
Measure the individual motif you choose. A set’s overall stitch count or width is not the size of each piece. To make 24 days with 16 gnomes, repeat eight favourites or combine them with another set.