

Choose the two faces together
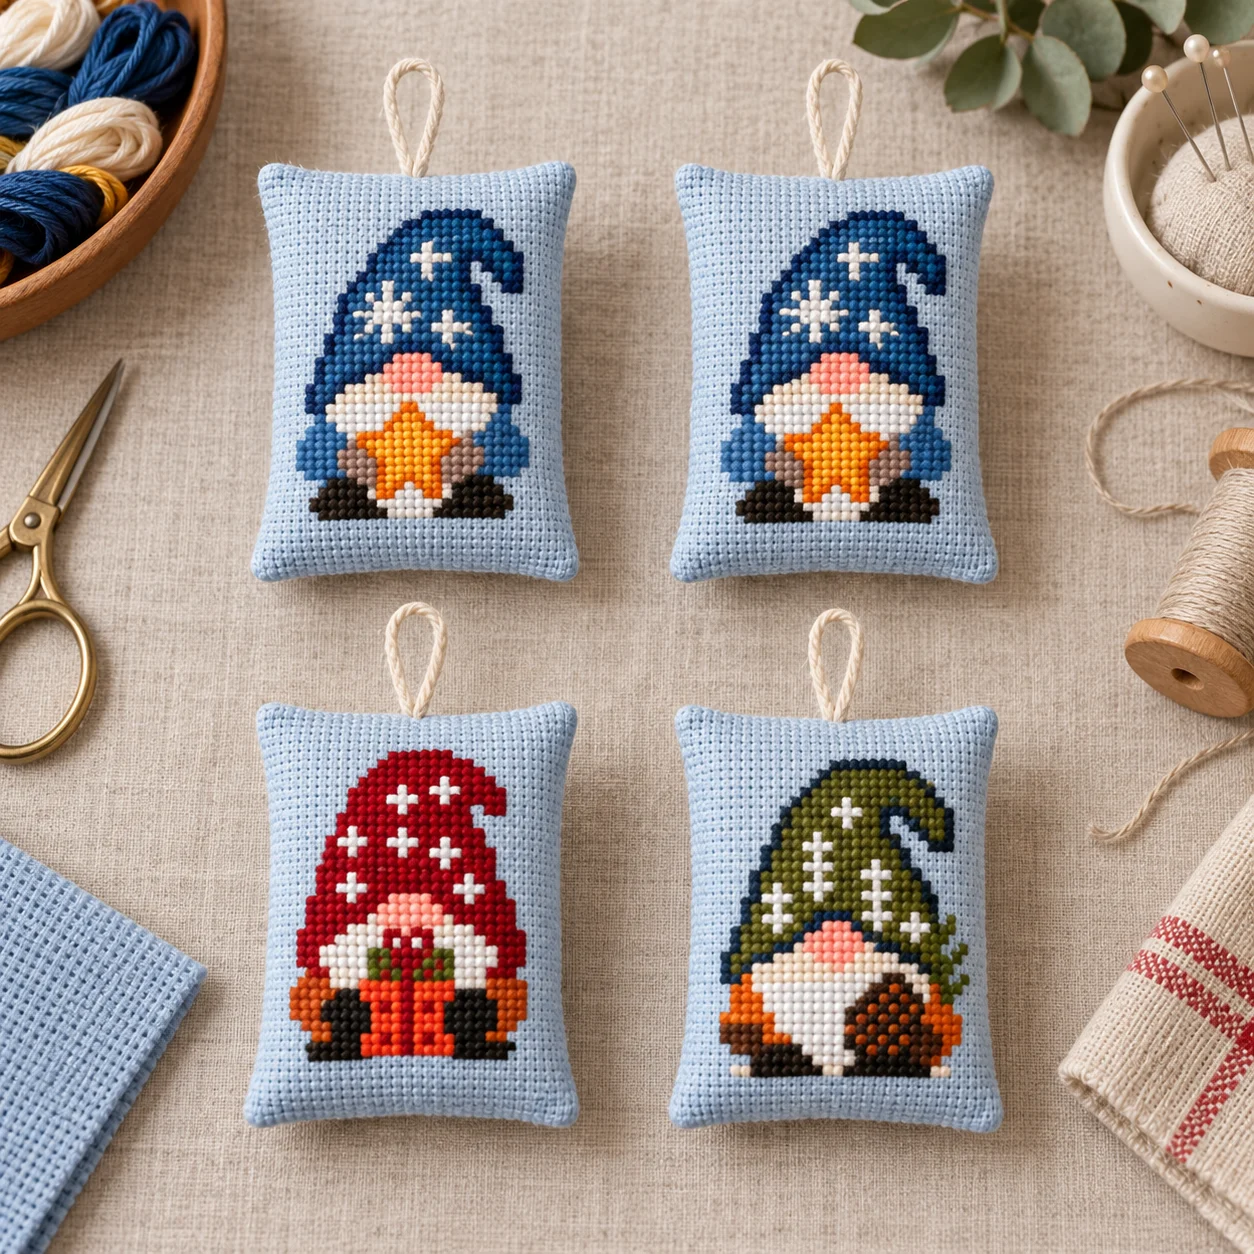
Try two characters from our mini Christmas gnomes, or pair a gnome with a tree from the Nordic Christmas Trees Set. A matching pair feels calm; two different designs give the ornament a small surprise when it turns. Read the individual charts before deciding on the finish.
Identical fronts are simply the same chart stitched twice. You do not need to reverse a chart to make the backs meet. Mirroring can turn lettering backward and change a character's details. For different designs, use a shared rectangle rather than trying to make two unrelated silhouettes match. Both embroidered tops will meet at the hanging loop.
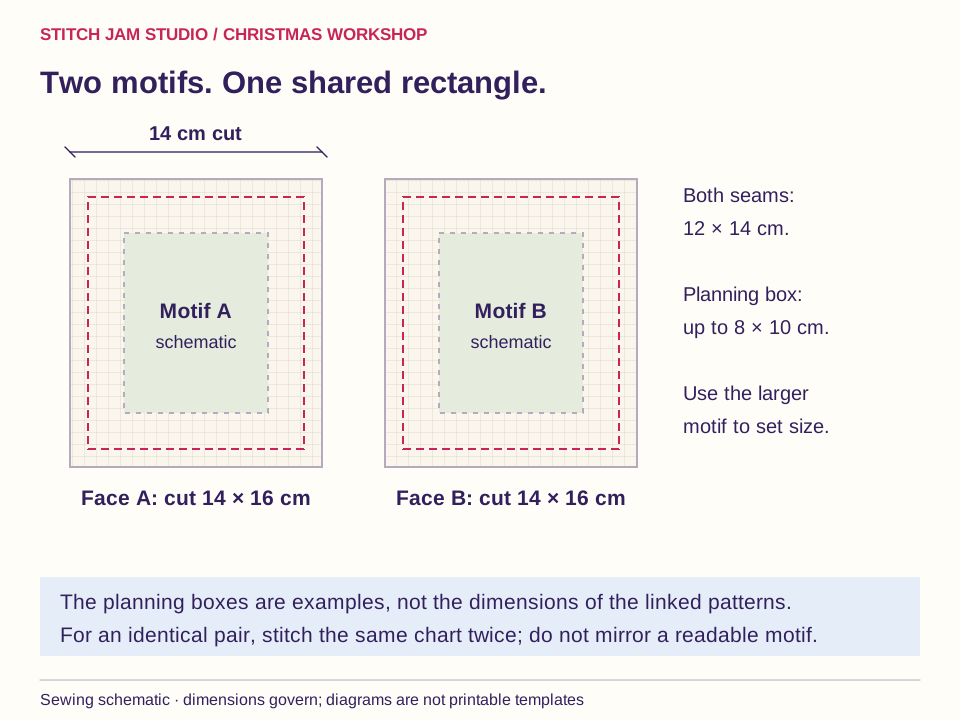
Plan one outline that accommodates both designs
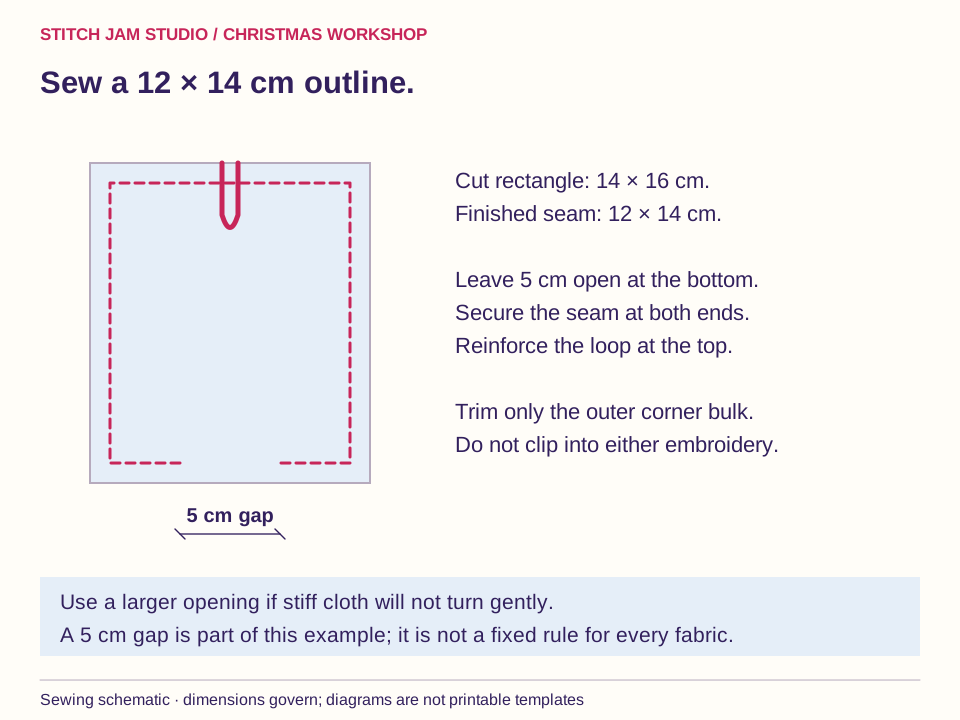
This example finishes 12 cm wide × 14 cm high. Cut each face 14 × 16 cm, including 1 cm seam allowances. Plan motifs no larger than about 8 × 10 cm within that rectangle to leave a visible border. This planning box is not a specification for the linked sets.
On Aida worked over one square, calculate each motif's width and height as stitches ÷ fabric count × 2.54 cm. For example, 40 × 50 stitches on 14-count measures approximately 7.26 × 9.07 cm. Use the larger measured width and larger measured height of your two designs to set the common outline. The overall dimensions of a collection do not tell you the size of one character.
1. Prepare both embroidered panels
Finish and check both embroideries before trimming. Follow the materials' care instructions if cleaning is needed, let them dry completely and press gently from the reverse over a clean towel. Have matching sewing thread, a little soft filling, a 14 cm length of narrow ribbon, pins, scissors, a ruler and a hand-sewing needle ready.
Work initially on generous pieces of fabric. Once the stitching is complete, mark a 12 × 14 cm seam rectangle around each motif. Centre each design visually within its own rectangle, then measure the borders to confirm nothing important reaches the seam. Add 1 cm outside and cut 14 × 16 cm. Secure the raw Aida edges with loose overcasting.
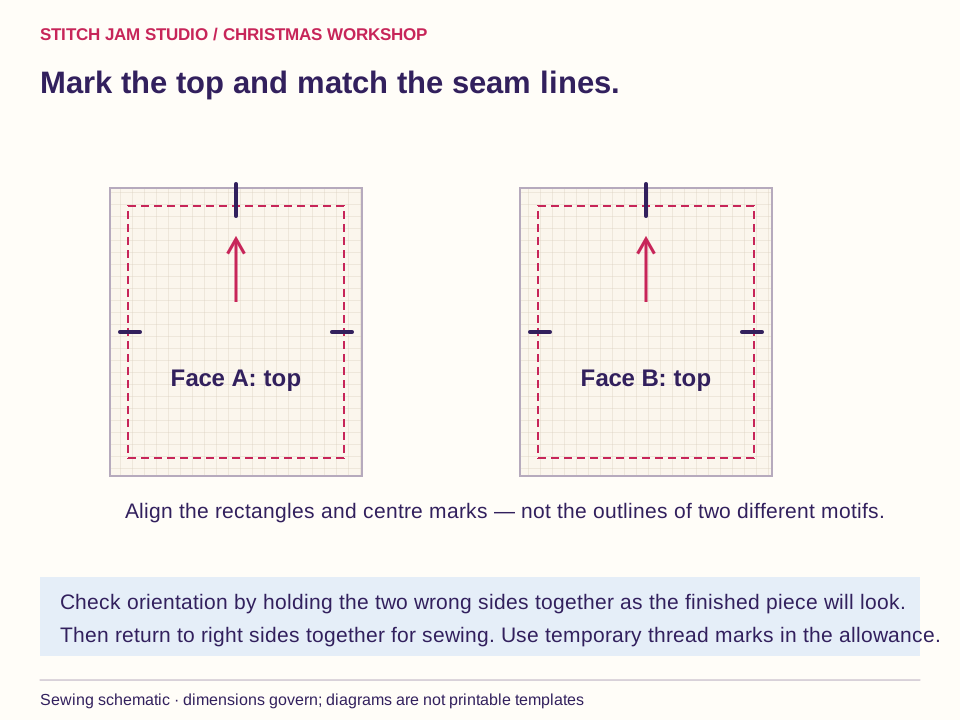
2. Mark the top and register the two outlines
Mark the top edge and the midpoint of each side with small temporary thread tacks in the allowances. Place the panels wrong sides together for a moment, as they will appear when finished. Turn the pair around its vertical axis: both motifs should read upright, and their tops should sit together.
Then separate them and put their right sides together for sewing. Match the marked top edges, corners and seam midpoints. Align the common seam rectangles rather than the last stitch in the two designs. This matters when one character is wider or more asymmetric than the other. Baste if the fabric layers slide when pinned.
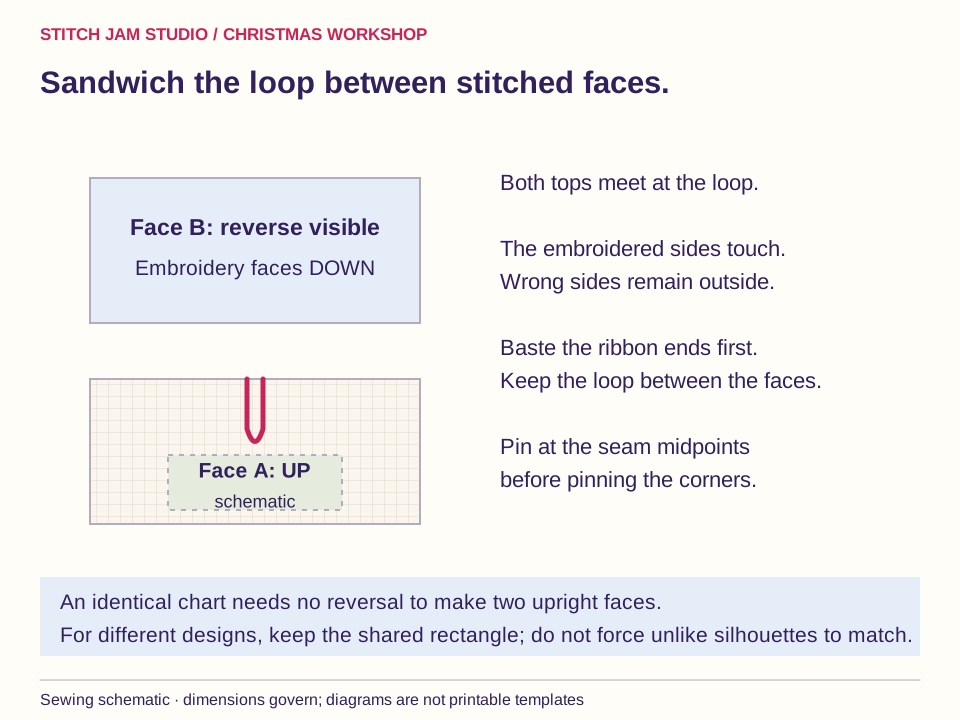
3. Baste the loop inside the top seam
Fold the 14 cm ribbon in half. On face A, with its embroidery facing up, align both ribbon ends with the top raw edge. Point the folded loop inward toward the middle. Baste the ends within the seam allowance.
Lay face B over it with the embroidery facing down, keeping the marked tops aligned. The ribbon now sits between the two embroidered faces; the reverse of each embroidery is on the outside. Check that the loop itself does not wander into a side seam. With a 1 cm seam, the finished projecting loop is approximately 6 cm long.
4. Sew around the rectangle
Mark a 5 cm opening at the centre of the lower edge. Sew the remaining outline at a consistent 1 cm allowance, securing both ends of the gap. Reinforce the top seam where it crosses the ribbon. Remove pins before the needle reaches them and pivot carefully at the corners.
A 5 cm opening gives a little extra turning room for two layers of Aida. If your cloth is particularly stiff, make the gap larger rather than forcing the embroidery through a tiny hole. Before turning, inspect the seam on both reverse sides: it must enclose both fabric layers continuously and remain outside both stitched designs.
5. Turn without distorting either face
Trim the outer corners diagonally, leaving at least 3 mm beyond each seam intersection. Keep the rest of the allowances intact unless a particular area has excessive bulk. Do not clip toward crosses simply to make the ornament smaller.
Ease the fabric through the opening in small sections. Shape the corners with a blunt tool and smooth the seams between your fingers. Check both faces while the ornament is still empty. If one design is upside down or the outline has shifted, this is the moment to unpick and correct it. Filling will not fix registration.
6. Fill lightly and close the lower edge
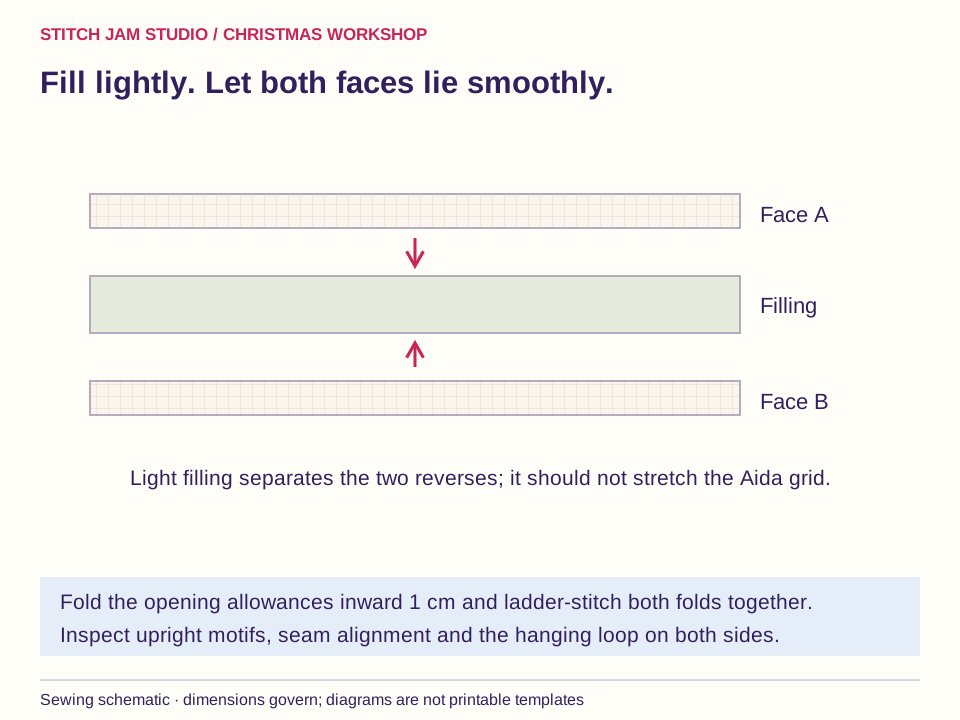
Add small tufts of filling to separate the two embroidered reverses and soften the outline. Distribute them evenly, especially beside bulky thread ends. Stop while both stitched faces still look smooth. Overfilling can pull the Aida grid out of square and make a careful border disappear around the sides.
Fold the opening allowances inward 1 cm. Use ladder stitch, alternating small bites inside the two folds. Draw the thread gently after several stitches, secure the finish and bury the tail inside. Inspect the lower edge from both sides; a straight closure should continue the original sewing line rather than take a bite out of one face.
7. Inspect both views and add it to your display
Hold the loop over a soft surface and gently check its anchoring. Rotate the ornament to inspect both designs, then remove temporary marks and any pins. A name or date can be stitched on one face before assembly; avoid adding a heavy charm that will drag one corner down.
Use these reversible pieces in a pocket-free Advent display, or tuck one into an embroidered reusable gift bag. If you prefer a cotton reverse, the single-front pillow method uses the same basic seam. A felt-backed ornament offers a flatter alternative.
The pocket-free countdown guide uses a 10 × 10 cm decoration space, so this larger worked example will not fit as written. Choose a smaller motif and reduce the body size while keeping the stated sewing or folding allowances. Shorten and trial-fit the hanger to about a 1 cm drop, or enlarge the calendar spacing to accommodate the original ornament and its approximately 6 cm loop.
Stitch Jam patterns to make it yours
These are real designs from our catalog. The images show finishing inspiration, and the product pages describe the PDF patterns. Fabric, filling, hardware, sewing templates and calendar numbers are separate unless a listing explicitly says they are included.
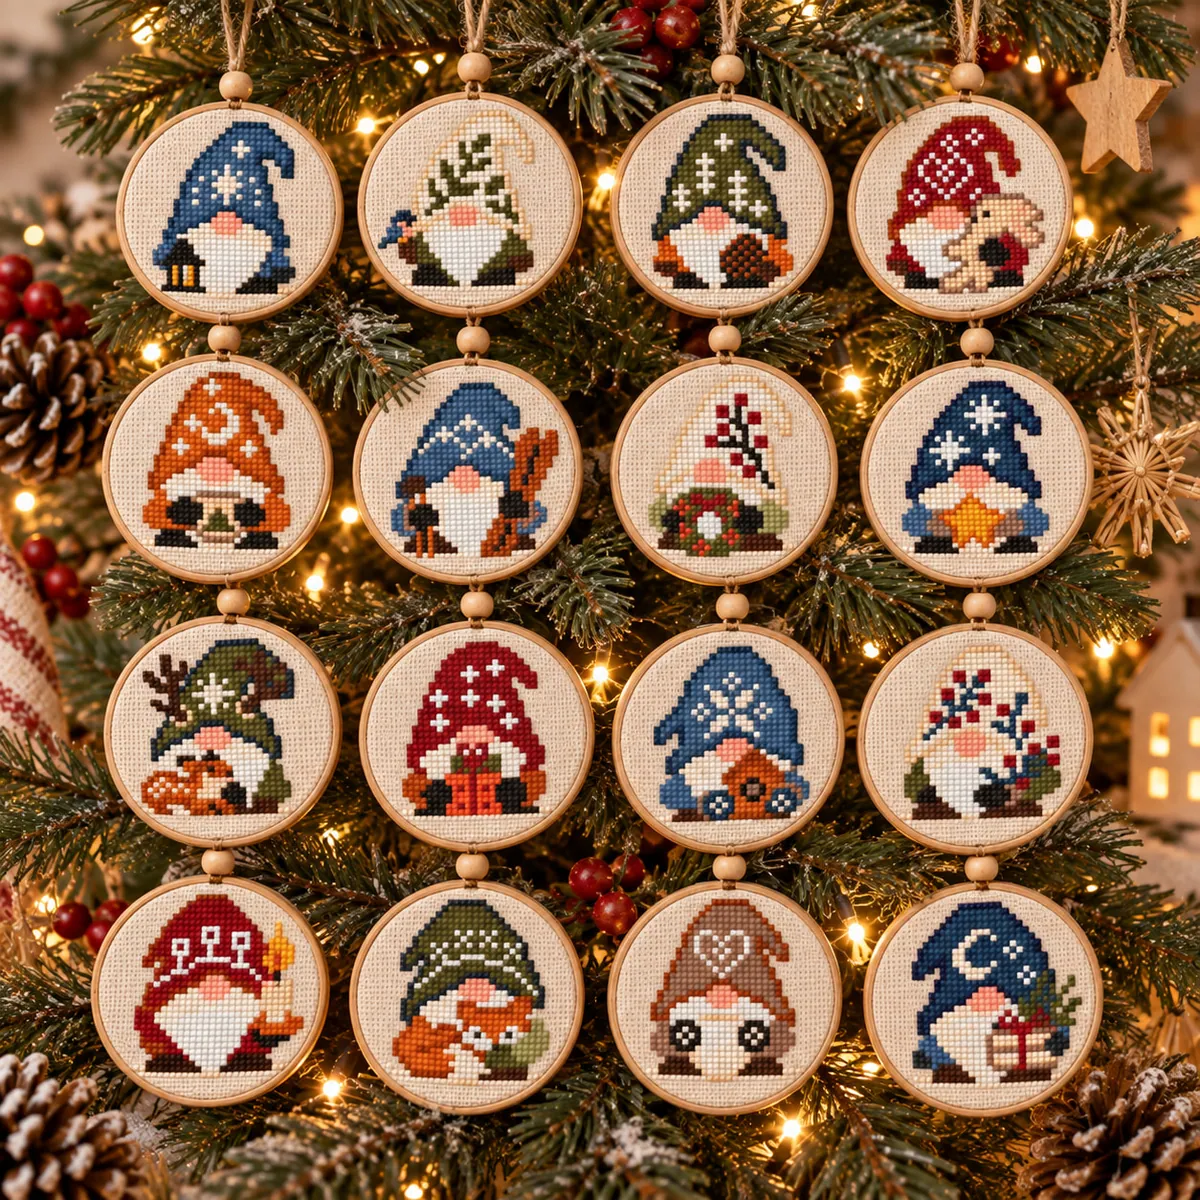 16 Mini Christmas Gnomes Ornaments SetView the pattern and included designs
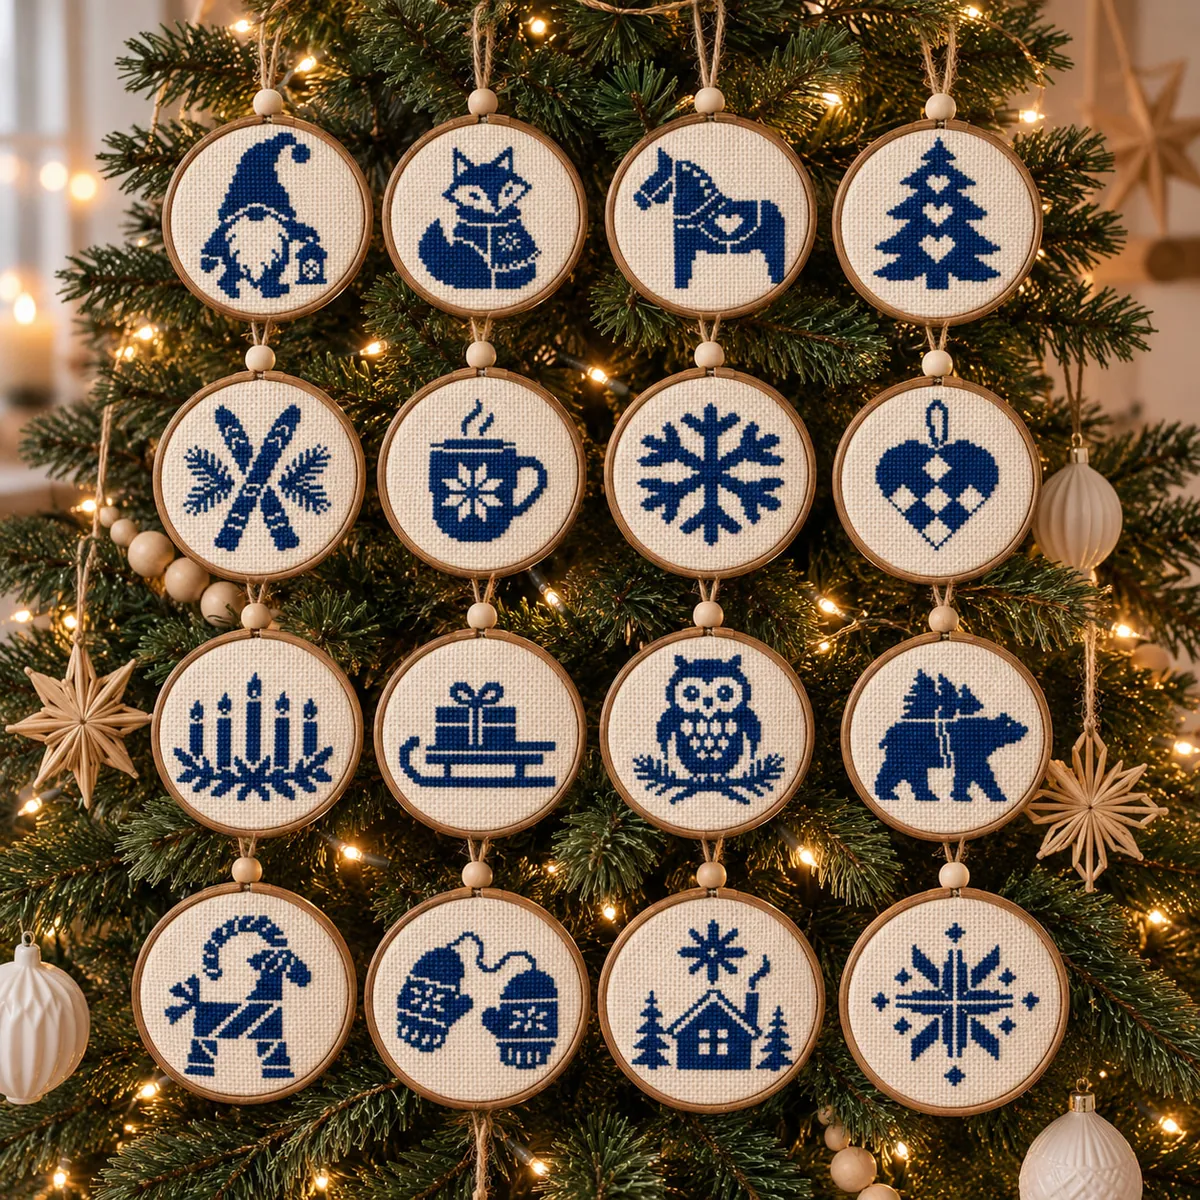 Christmas Nordic Ornaments MonochromeView the pattern and included designs
Measure the individual motif you choose. A set’s overall stitch count or width is not the size of each piece. To make 24 days with 16 gnomes, repeat eight favourites or combine them with another set.