

Choose the motif and check the gift first
Choose an individual motif from the Mini Christmas Gnomes Set or a simple tree from the Nordic Christmas Trees Set. A separate embroidered patch keeps the counted cloth where it is useful, while soft cotton gathers easily at the top.
Measure the intended gift, including its depth, before cutting. The 18 × 24 cm finished size describes the empty bag laid flat; it is not the size of a box that will fit inside. Leave room below the drawstring for the top to gather. Try a paper mock-up if the gift is bulky. This bag has a flat bottom seam, not boxed corners.
The cutting list and the size calculation
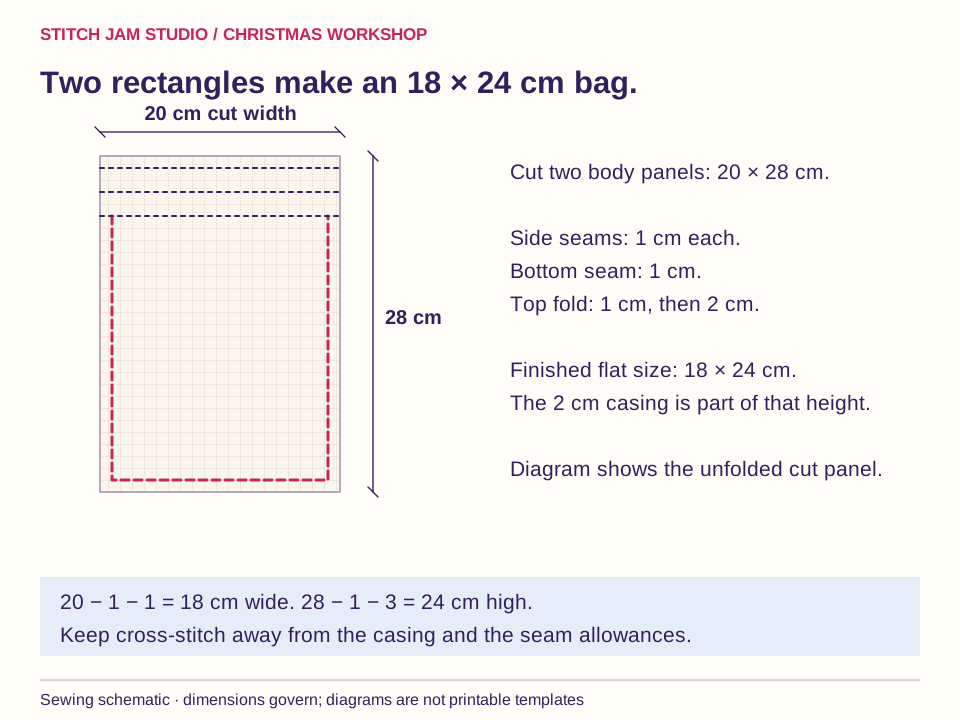
Cut two cotton body panels 20 cm wide × 28 cm high. Side and bottom allowances are 1 cm. The top turns down 1 cm and then 2 cm, using 3 cm of the original height. The result is 20 − 2 = 18 cm wide and 28 − 1 − 3 = 24 cm high, including its 2 cm casing.
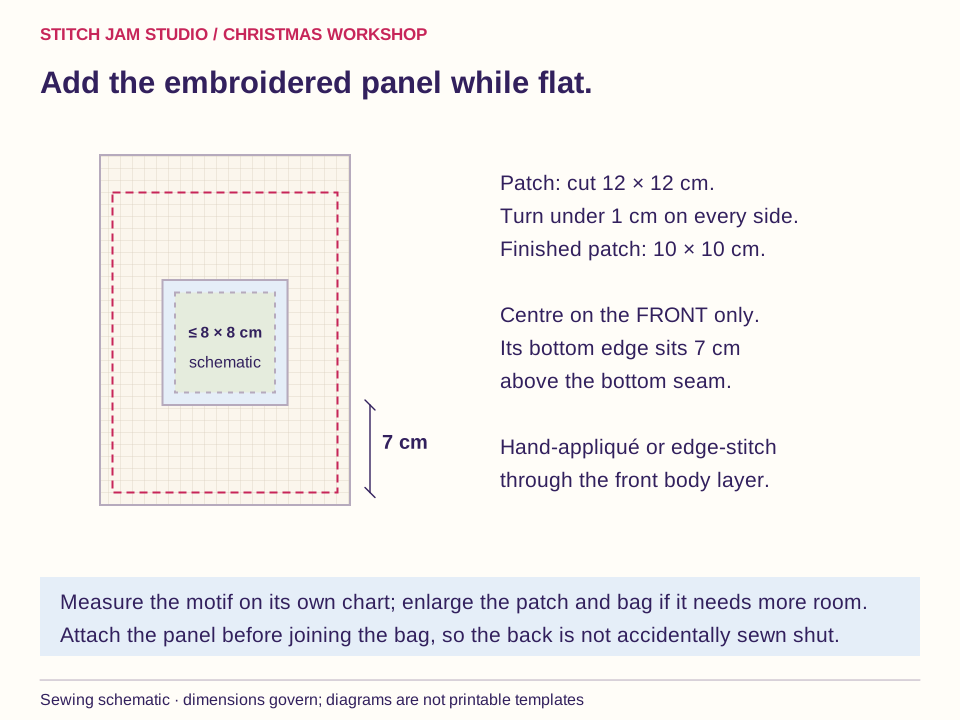
Also prepare a stitched panel to finish 10 × 10 cm, two 60 cm lengths of thin cord, sewing thread, needles, scissors, a ruler and a bodkin or safety pin. For the patch, cut 12 × 12 cm after stitching so you can turn under 1 cm on every edge. Use a motif no larger than about 8 × 8 cm for this example. Start the embroidery on a larger piece for comfortable handling.
1. Prepare the fabrics and the embroidery
Prewash and press the body fabric if suitable for its care instructions. Finish and check the embroidery, clean only as its materials permit and press from the reverse on a towel. On Aida worked over one square, calculate the motif in centimetres as stitches ÷ fabric count × 2.54 in each direction. A 40 × 40 stitch example on 14-count measures about 7.26 × 7.26 cm; it fits our 8 cm planning area.
The linked sets may state dimensions for a whole arrangement. Check the individual chart you are using. If your chosen motif is bigger, increase the patch and the bag together rather than removing the visible border or sewing through the design.
2. Attach the patch to the flat front
Secure the patch's raw woven edges, then fold 1 cm to the reverse on all four sides. Press gently. Tuck the corner allowances neatly under, reducing only surplus folded bulk without cutting into the visible patch. The resulting square is 10 × 10 cm.
On one body panel, mark the bottom seam line 1 cm above the raw edge. Centre the patch across the width and place its lower edge 7 cm above that seam line. Pin and hand-appliqué the folded edge with small stitches, or machine-stitch close to it. Sew through the front body only. This placement leaves space between the patch and the casing, and keeps it clear of the bottom seam.
3. Sew the body, leaving the top side sections open
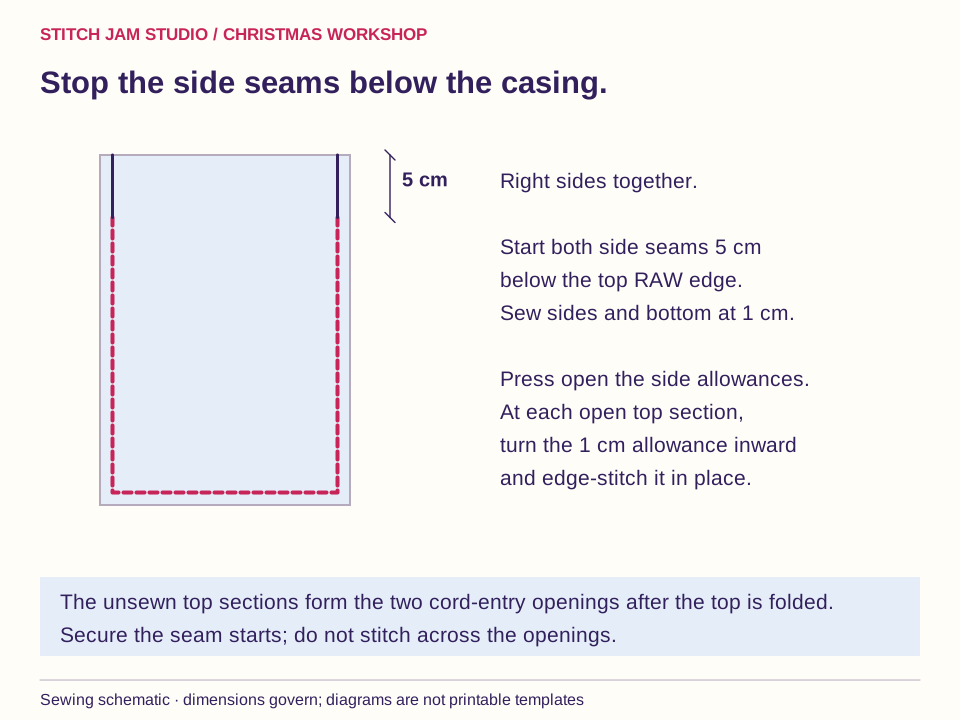
Place the two body panels right sides together. On both side edges, mark a point 5 cm below the top raw edge. Sew each side from its mark toward the bottom at a 1 cm allowance, and sew the bottom at the same allowance. Secure the seam starts and ends.
The top 5 cm of each side must remain unsewn; those openings allow the two casing mouths to form after folding. Finish the exposed seam allowances with an overcast or zigzag stitch. Keep the upper allowances separate so they can open flat. Press the side seam allowances open and check that no loose thread obstructs the top.
4. Neaten the four casing entrances
At each unsewn top side section, press the 1 cm side allowance to the wrong side, continuing the line of the opened seam below. Edge-stitch that folded allowance in place. Do this on both top edges of both body panels: four short finished edges in total.
These folded side edges will form the mouths of the front and back tunnels. Keep them separate. Test that the upper panels can still open away from one another; a line of stitching crossing the side opening would prevent the drawstring from travelling through.
5. Fold and stitch the two channels
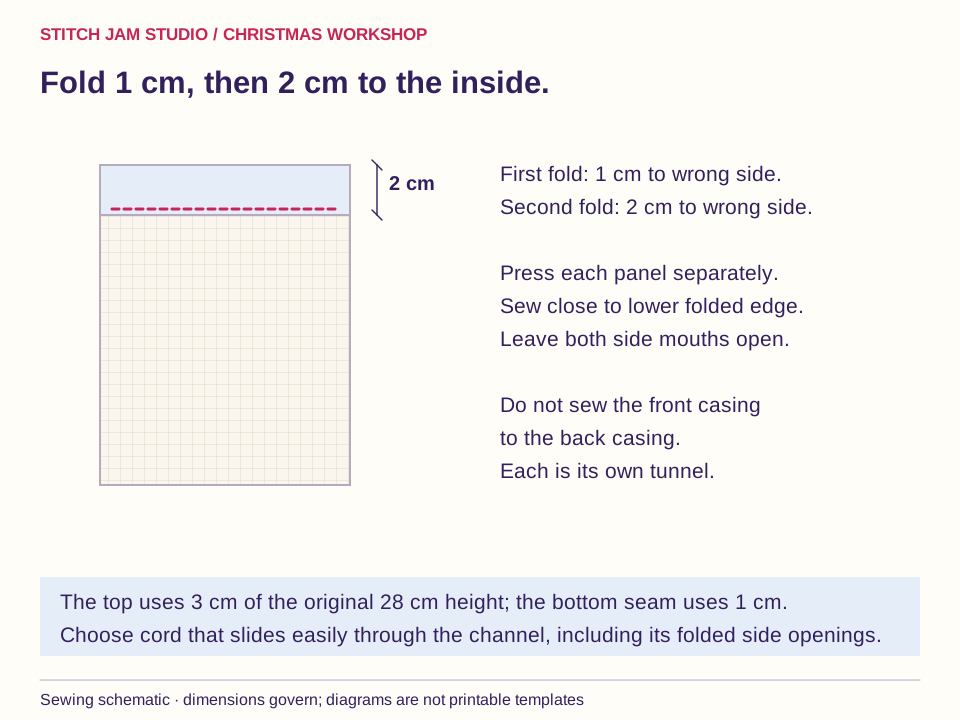
Working on one body panel at a time, fold its top raw edge 1 cm to the wrong side and press. Fold it down another 2 cm and press again. The raw edge is now enclosed. Stitch close to the lower folded edge, stopping at the already finished side edges.
Repeat on the other panel. You now have a front channel and a back channel, both open at their left and right ends. Keep the opposite bag layer clear of the needle while sewing. Turn the bag right side out and gently shape its bottom corners. Choose cord thin enough to slide through the channel without straining its seam.
6. Thread the two opposing drawstrings
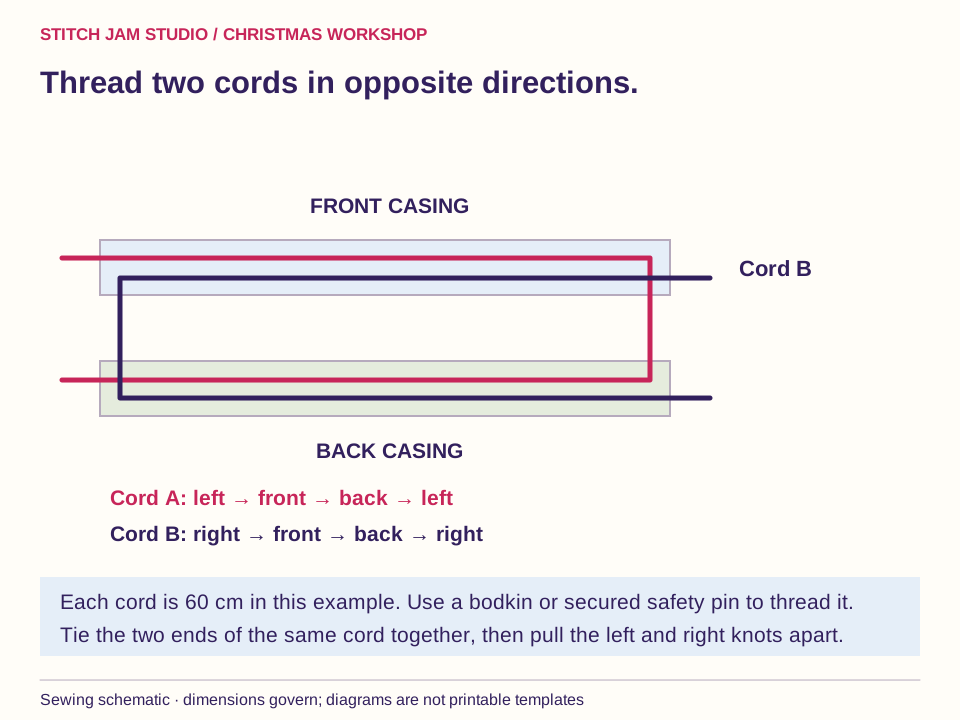
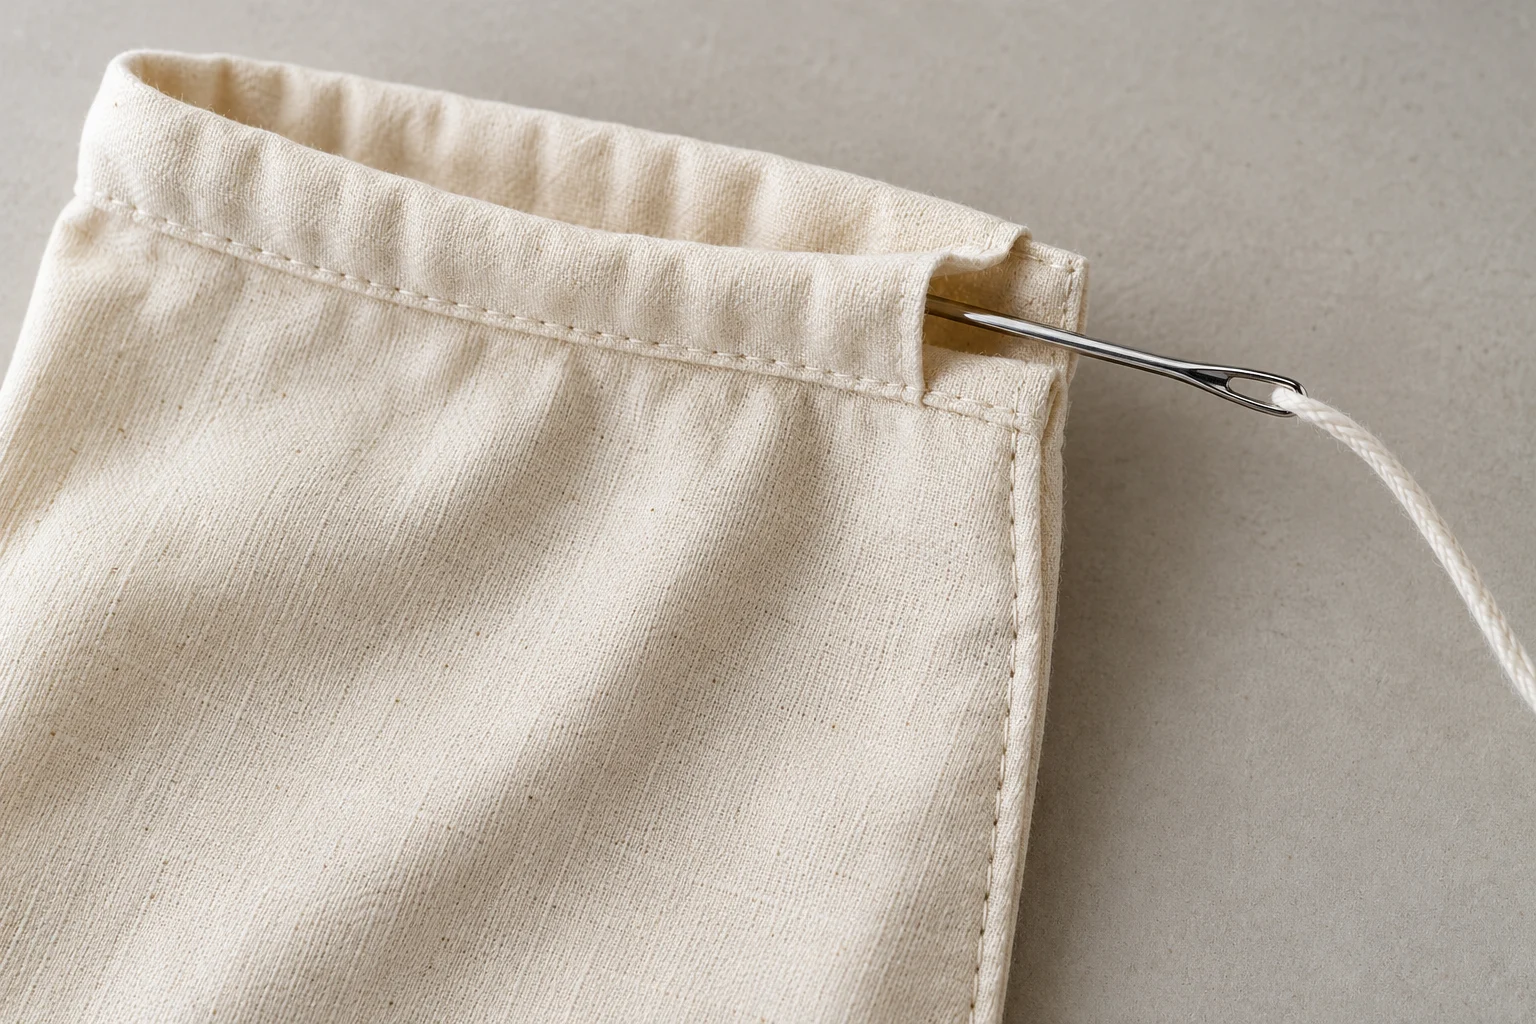
Attach a bodkin or closed safety pin to the first 60 cm cord. Start at the left opening, pass through the front channel to the right, then through the back channel to the left. Both ends of this cord now emerge on the left. Knot those two ends together.
Start the second cord on the right. Pass through the front to the left, then the back to the right, and knot its own ends together. Remove the threading tool. Pull the left and right knots apart: the top should gather evenly. If it catches, check for a twisted cord or a casing entrance partly closed by stitching.
7. Check the fit and make it reusable
Put the gift inside and close the top gently. Check that the casing can gather without pressing hard against the contents. Trim cord ends only after confirming the knot positions. Add a removable paper label, and include care information appropriate to all the fabrics and threads.
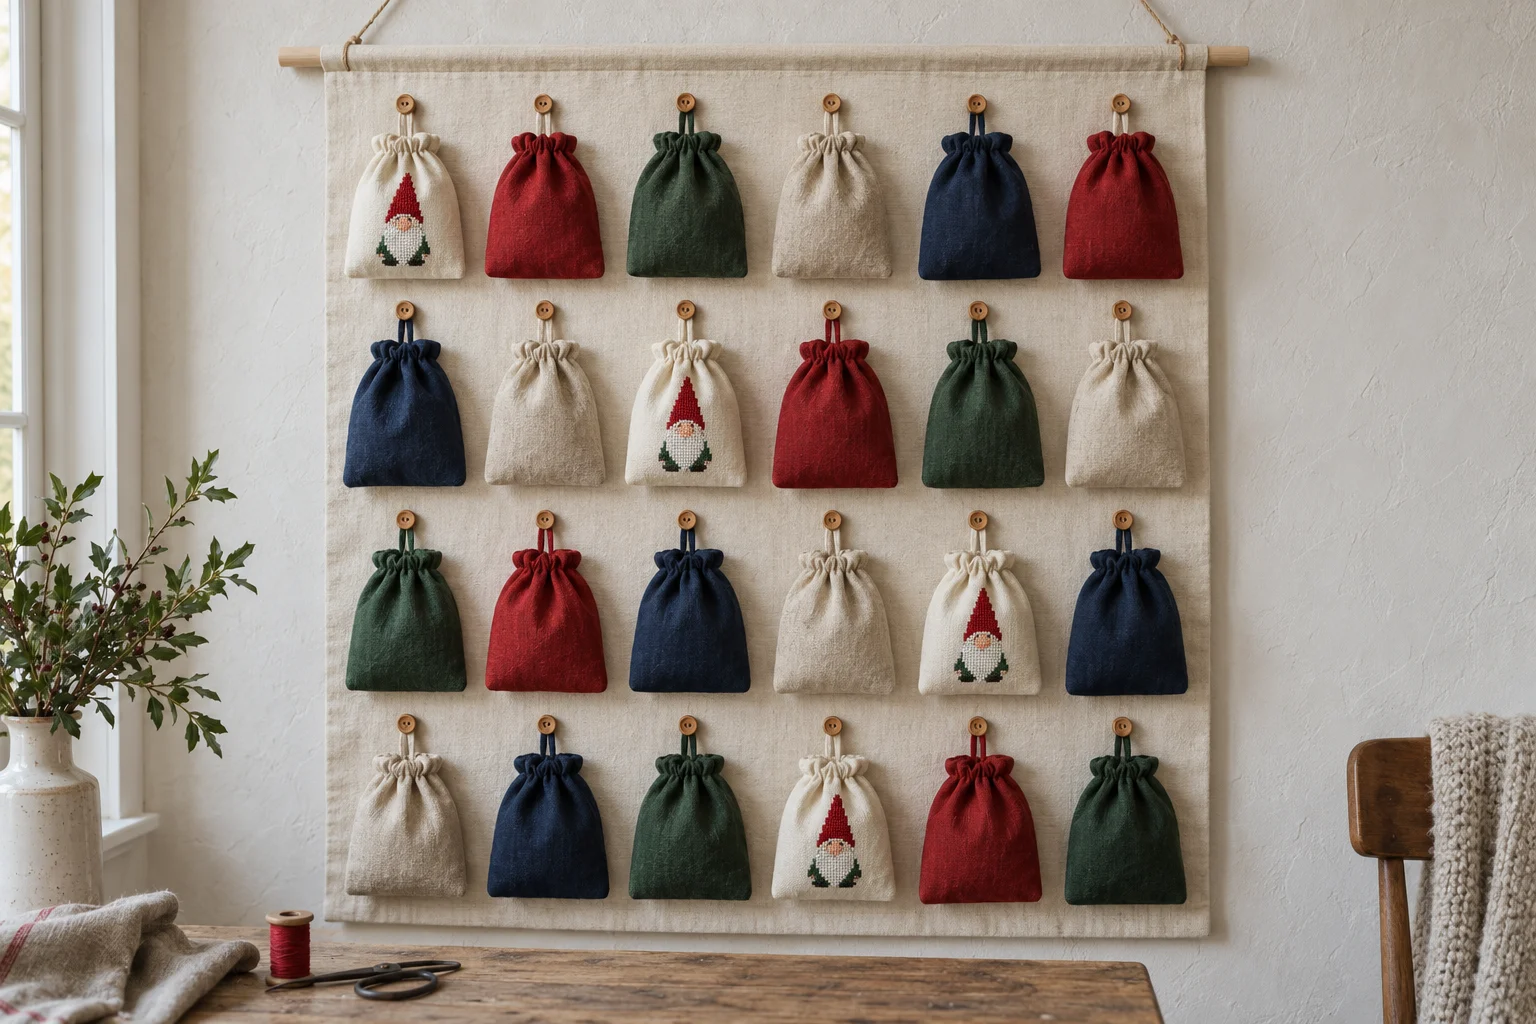
For numbered daily parcels, use our Advent calendar with detachable bags. For a fixed wall display, see sewn Advent calendar pockets. A flat stitched ornament can be tucked inside the bag or tied to a gift label; a matching Christmas cushion cover makes a larger project.
Stitch Jam patterns to make it yours
These are real designs from our catalog. The images show finishing inspiration, and the product pages describe the PDF patterns. Fabric, filling, hardware, sewing templates and calendar numbers are separate unless a listing explicitly says they are included.
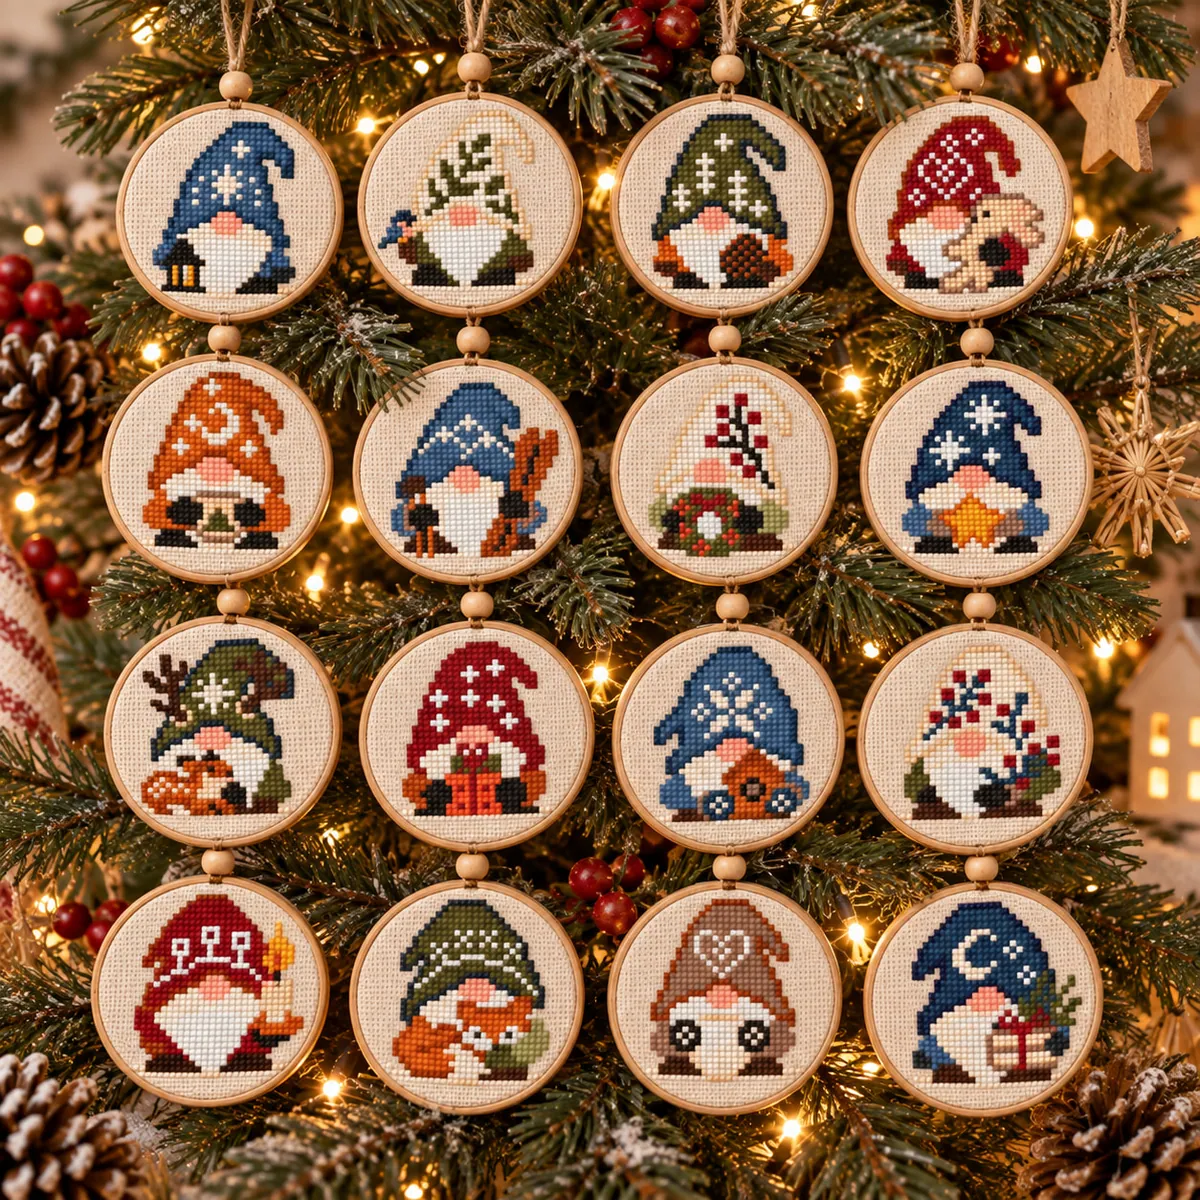 16 Mini Christmas Gnomes Ornaments SetView the pattern and included designs
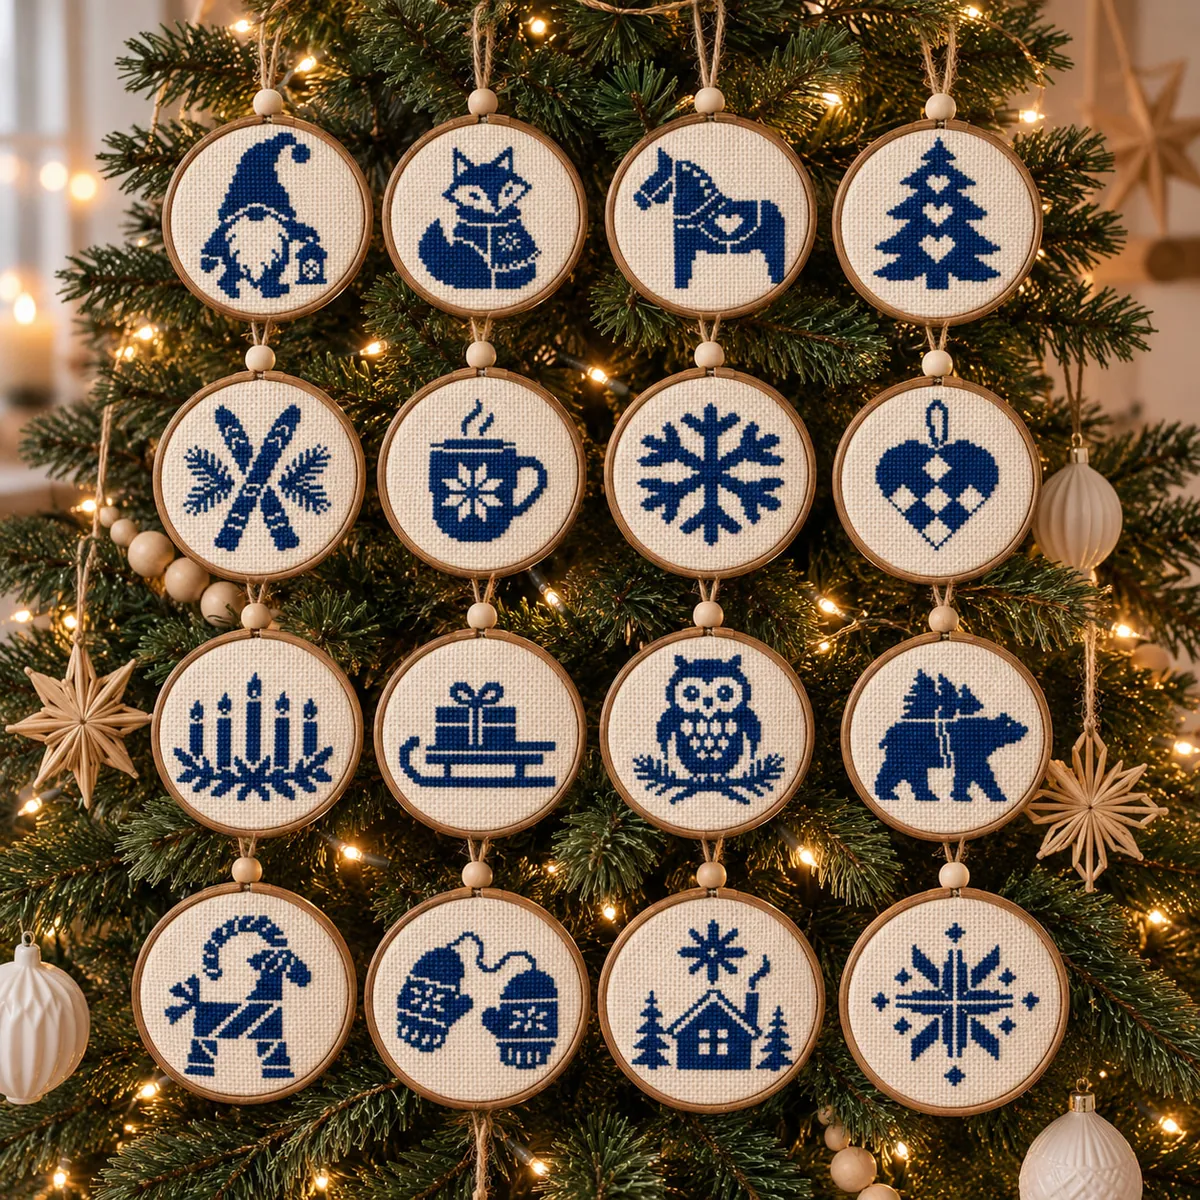 Christmas Nordic Ornaments MonochromeView the pattern and included designs
Measure the individual motif you choose. A set’s overall stitch count or width is not the size of each piece. To make 24 days with 16 gnomes, repeat eight favourites or combine them with another set.